Back to TheWorxHub for Senior Living Main Menu
Adding Staff
How to Add a Staff Member
- Click on the Add button at the top right corner of the page and select Staff/Contractor/Supplier.
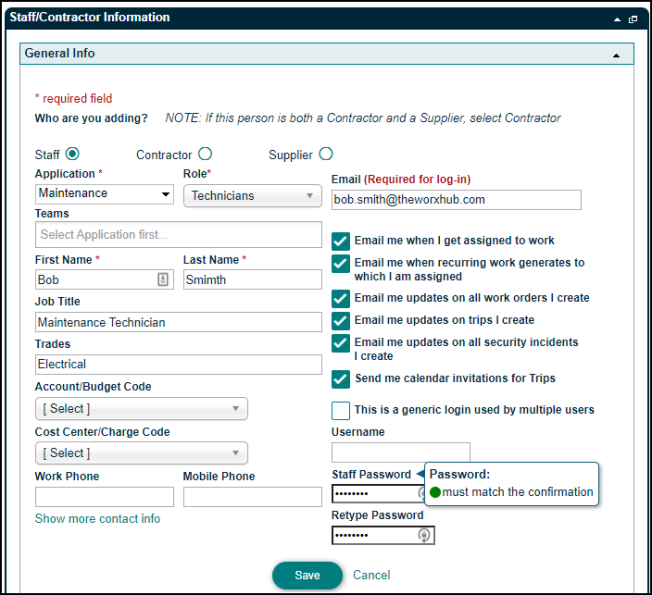
General Info
- Select Staff under Who are you adding?
- Choose the Department and Role from the pick lists. *Note: The role selected will determine what permissions your new user will have in TheWorxHub.
Be sure to select any Departments that you would like the staff member to be able to access, as this will directly impact their access in TheWorxHub. For example, if you have chosen to customize a user role by giving the role Transportation permissions, the user will not have these permissions unless the Transportation department is selected on their user profile.
- Type the staff member's Email and choose which email notification options the user should receive by checking the appropriate boxes.
- If the staff member belongs to a team, click on the Teams field and select one from the list. When a team is assigned to work orders, all staff assigned to the team will see those work orders on their dashboard under the Just My Work/Just My Teams section. *Note: Staff can be assigned to multiple teams if needed.
- Enter the staff member's First Name and Last Name.
- If applicable, enter the staff member's Trades. This helps the person assigning labor to make sure the most qualified person is assigned to the work.
- Enter a unique Username.
- Create a password for the staff member by typing the password into both the Staff Password and Retype Password fields. *Note: We recommend using a secure password that includes letters, numbers, and a symbol.
- Enter any additional information for the staff member.
- Click Save. *Note: After saving the information in the General Info section, additional options will appear on the page.
- If needed click the Upload Photo link to select a photo of the staff member from your computer.
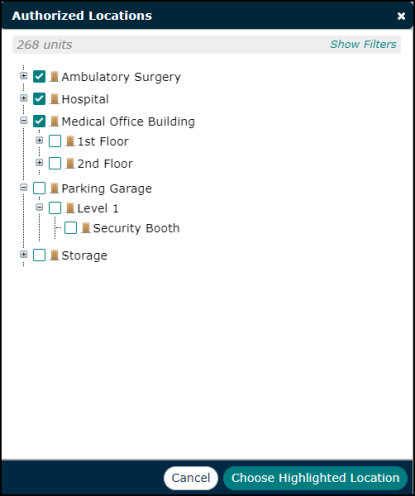
Location Access
- Click Location Access to expand this panel.
- Click the Edit the list of locations they can view link.
- Use the location picker to select any locations the staff member should be allowed to submit requests for. If you would like to select all child locations for a particular top-level location, hover your mouse over the top-level location and click Select All.
- Click the Choose Highlighted Location button to save the location settings for this staff member.
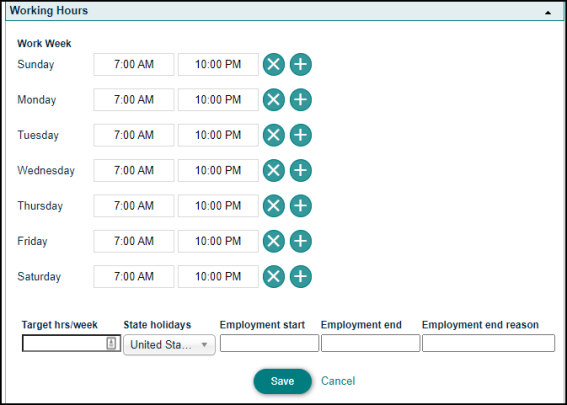
Working Hours
- Use the "X" and "+" buttons to add or remove shifts.
- Enter their shift Start and End times.
- You can add additional information about this staff member's work schedule in the fields below.
- Click Save.
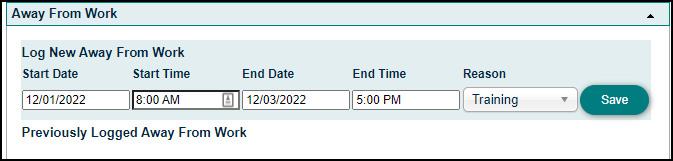
Away From Work
- Click Away From Work to expand this panel.
- Enter the Start Date, Start Time, End Date, and End Time.
- Choose the Reason the staff member will be away from work from the pick list.
- Click Save.
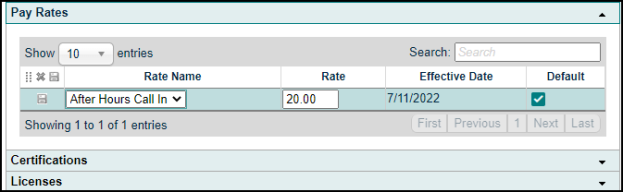
Pay Rates
In this section you can select a pay rate for the staff member. Pay rates are useful to track internal costs against a work order. *Note: Only staff with the appropriate permissions can view pay rates.
- Click on Rates to expand this panel.
- Select the Rate Name by clicking the field and choosing an option from the pick list.
- Enter the Rate.
- Select the Effective date in the mini calendar.
- Check the Default box if this is the staff member's default rate.
- Click the Save icon (
 ).
).
Certifications
In this section you can add any certifications for the staff member.
- Click on Certifications to expand this panel.
- Select the Certification by clicking the field and choosing an option from the pick list.
- Select the Expiry Date and Certification Date by clicking in the field and choosing the date on the mini calendar.
- Enter any Requirements if necessary.
- Click the Save icon ().
Licenses
In this section you can add any licenses for the staff member.
- Click Licenses to expand this panel.
- Select the License Type by clicking the field and choosing an option from the pick list.
- Select the Expiry Date and Issue Date by clicking in the field and choosing the date on the mini calendar.
- Enter any Requirements if necessary.
- Click the Save icon ().
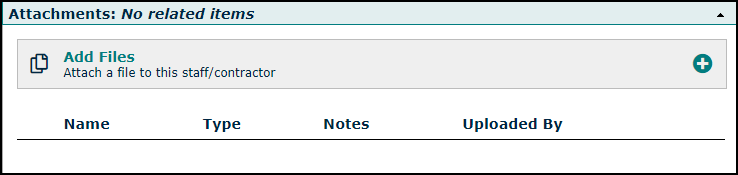
Attachments
In this section, you can add any attachments from your computer, the web, or from a Dropbox account.
- Click on Attachments to expand this panel.
- Click the Add Files link.
- The File Selection window will display a list of files recently uploaded to the File Library.
-
Use the Search field to search for additional files.
-
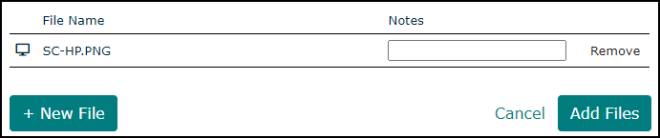
Check the box for any file you would like to attach to the staff member record, then click the Add Files button.
-
If the file does not currently exist in the library, click the +New File button to attach the file to the staff member record.
-
In the window that appears, choose the source of the attachment. *Note: If a new image or document is attached to the staff member, it will also be uploaded to the File Library.
-
Select Choose File to upload a file from your computer.
-
Select Dropbox to link to a file in a Dropbox account.
-
Select URL to enter a link to a document or file on a web page.
-
-
If you have selected the wrong file, click the Remove link and repeat this process to select the correct file.
-
Enter a note or description of the file in the optional Notes field, then click the Add Files button.
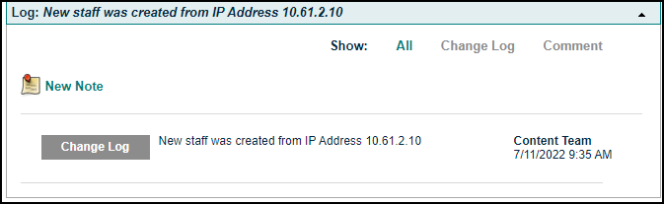
Log
The Log is where any changes made to the staff member will be recorded.
- Click Log to expand this panel.
- You can record a note in the Log by clicking the New Note button.
- Enter the note in the text box and click Save.